Downloading the QHYCCD X2 Camera Plugin
How to Download and Install the QHYCCD
X2 Camera Plugin
The following page describes how to download
the latest QHYCCD X2 Camera Plugin for macOS, Linux (ARM and x86) and
Windows operating systems.
Note that QHYCCD develops and distributes
the QHYCCD X2 Plugins and may periodically update them as necessary, so
that the latest TheSky Pro installer may not necessarily include the latest
QHYCCD X2 Plugins.
How
to download and install the macOS QHYCCD X2 Camera Plugin
How
to download and install the Linux (ARM and x86) QHYCCD
X2 Camera Plugin
How
to download and install the Windows QHYCCD X2 Camera Plugin
How
to configure TheSky to use a QHYCCD camera

|
How
to Download and Install the macOS QHYCCD X2 Camera Plugin
Installers for TheSky version 10.5.0 Build 12264 and later distribute
the latest QHYCCD X2 Camera Plugin. No additional files
need be downloaded or installed to control your QHYCCD camera
on macOS.
|


|
How
to Download and Install the Linux (ARM and x86) QHYCCD X2 Camera
Plugin
To download the latest Linux and Raspbian (Raspberry Pi) QHYCCD
X2 Camera Plugin:
From a web browser visit
the QHYCCD
Developer Support page. Under the Developer tab click The
Sky Software Plug-in of QHYCCD SDK link. Under Download, click Linux,
Linux_64,
or RPI3 (32-bit ARM) to download the archive
that contains the respective X2 Plugin installer. From
Finder,
open the Downloads
folder and double-click the file named:
Linux_x64: LINUX_X64_TheSkyX_PlugIn_<Version
Number Here>.tgz, where <Version
Number Here> is the version of the most recent
installer. Linux: LINUX_TheSkyX_PlugIn_<Version Number
Here>.tgz, where <Version
Number Here> is the version of the most recent
installer. RPI3: RPI3_TheSkyX_PlugIn_<Version Number
Here>.tgz, where <Version
Number Here> is the version of the most recent
installer.
From
Finder,
in the Downloads
folder, open the folder named MACOS_THESKYX_PLUGIN_V...
to view in the camera plugin installer. The folder contains
a file named:
install.sh -
This
file is the installer that must be run to install the
X2 Plugin. Before this installer can be run,
you must modify the file's attributes as described below! uninstall.sh
- This script uninstalls the
QHYCCD plugin.
Open the Terminal application. From the
Terminal window,
use the cd command
to navigate to the folder where the archive resides in the
above step resides (for example, if the browser saved the
file to the default folder, for the latest release as of this
writing, type cd
~/Downloads/MAC_OS_TheSkyX_Plugin_V20190628_0. Make the
installer script executable by typing chmod
+x install.sh
<Return>
and then run the installer by typing ./install.bin <Enter>.
Enter the administrative password and press Return to complete
the installation. From TheSky Pro, click Telescope > Telescope Setup. On
the Imaging
System Setup window, double-click Camera
under Imaging
System. On the Choose
Camera window, expand QHYCCD,
and select QHYCCD
Camera for all QHYCCD
model cameras.
|

|
How
to Download and Install the Windows QHYCCD OEM Drivers and X2
Camera Plugin
To download the latest Windows QHYCCD X2 OEM Drivers and QHYCCD
Camera Plugin:
Visit the QHYCCD Downloads
page: https://www.qhyccd.com/download On the Downloads page,
click the link near the top of the page to download the
latest All-In-One
Pack. The latest version of the All-In-One
Pack as of this writing is 2021.10.23
(144 MB) . From
Windows
Explorer, open the Downloads
folder and double-click the file QHYCCD_Win_AllInOne.21.10.23.19.exe. Close
all applications that might be connected to the hardware,
then run the above installer. During
installation, on the Select
Additional Tasks
window, you must turn on both the Drivers
checkbox and TheSkyX
(SDK)
checkbox. Failure
to turn on both of these options will prevent TheSky from
successfully connecting to the camera. From TheSky
Pro, click Telescope
> Telescope Setup. On
the Imaging
System Setup window, double-click Camera under Imaging System. On the Choose Camera window, expand
QHYCCD,
and select CCD/CMOS
Imager for the Imaging camera, or Guide Camera for the
autoguider.
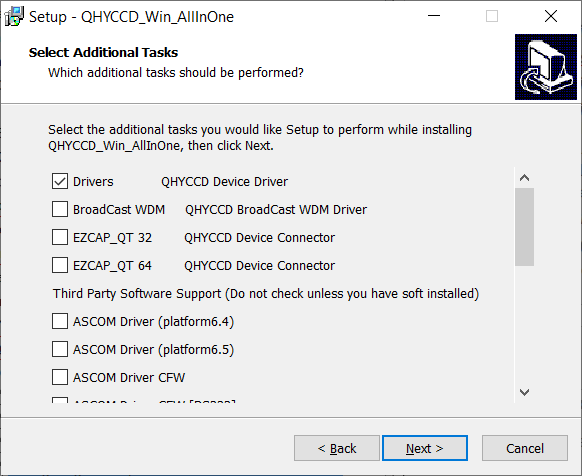
Turn on the Drivers
checkbox and then scroll down...
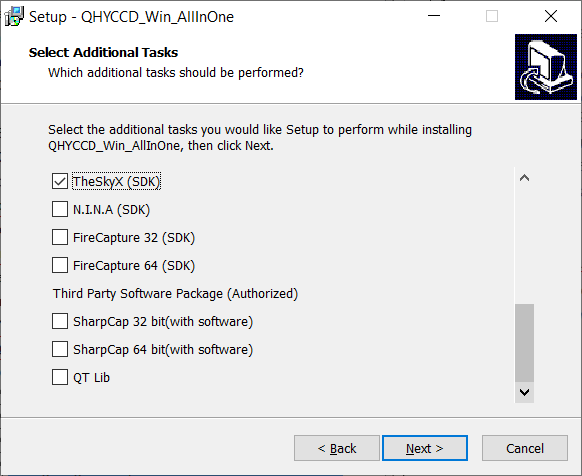
...to turn on TheSkyX
(SDK) checkbox.
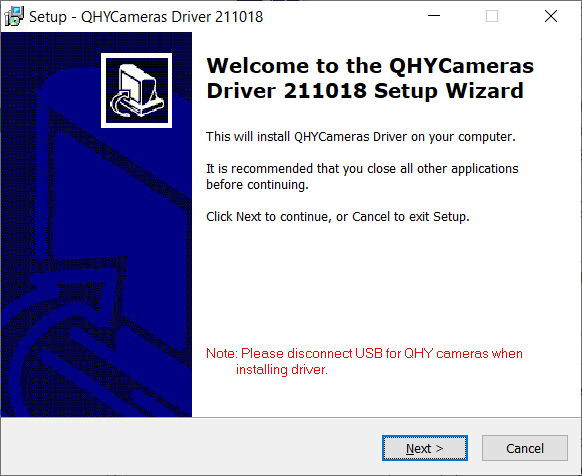
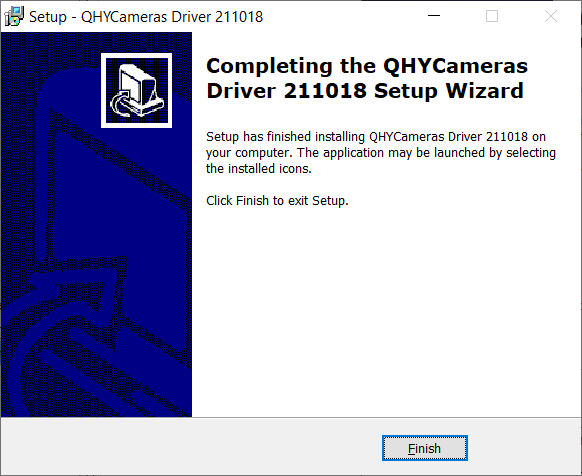
Installing the QHY Cameras Driver
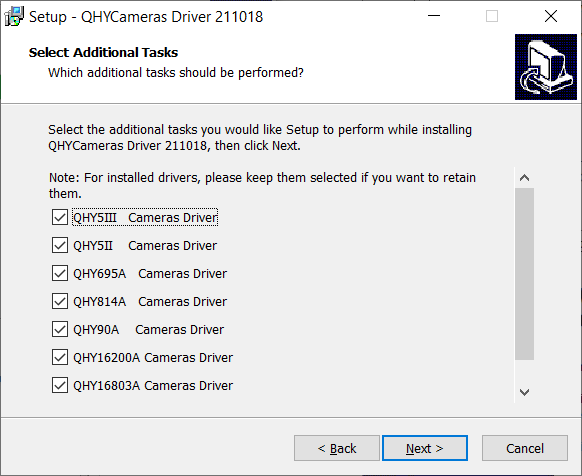
Make sure to turn on the checkbox
for your model camera!
OEM driver installation complete.
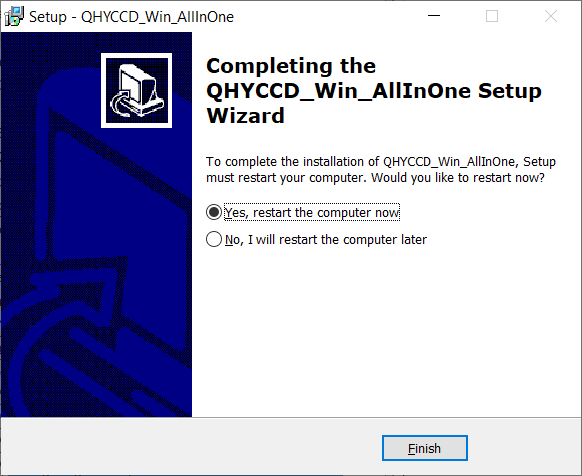
The computer must be restarted before
TheSky can control your camera.
|
Configuring TheSky to use a QHYCCD
Model Cameras
The screen capture below shows how to choose your QHYCCD model camera
from TheSky's Telescope
> Telescope
Setup window.
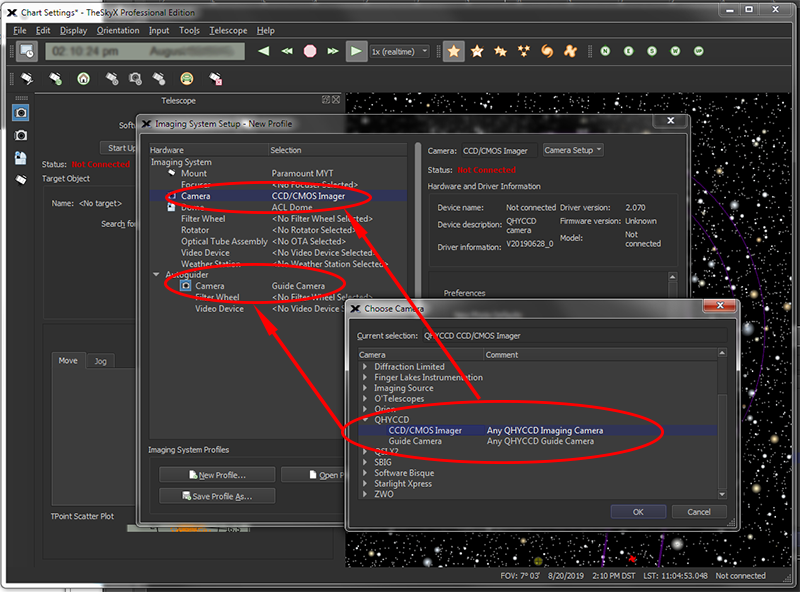
Selecting a QHYCCD camera or autoguider
from TheSky Pro.